Mushroom Grow Tent Setup
Mushrooms need light, fresh air, humidity, and temperature to trigger their development from mycelium (the white thread-like network of fungal cells) to primordia (the small bumps that eventually form mushroom caps and stem) to mature mushrooms.
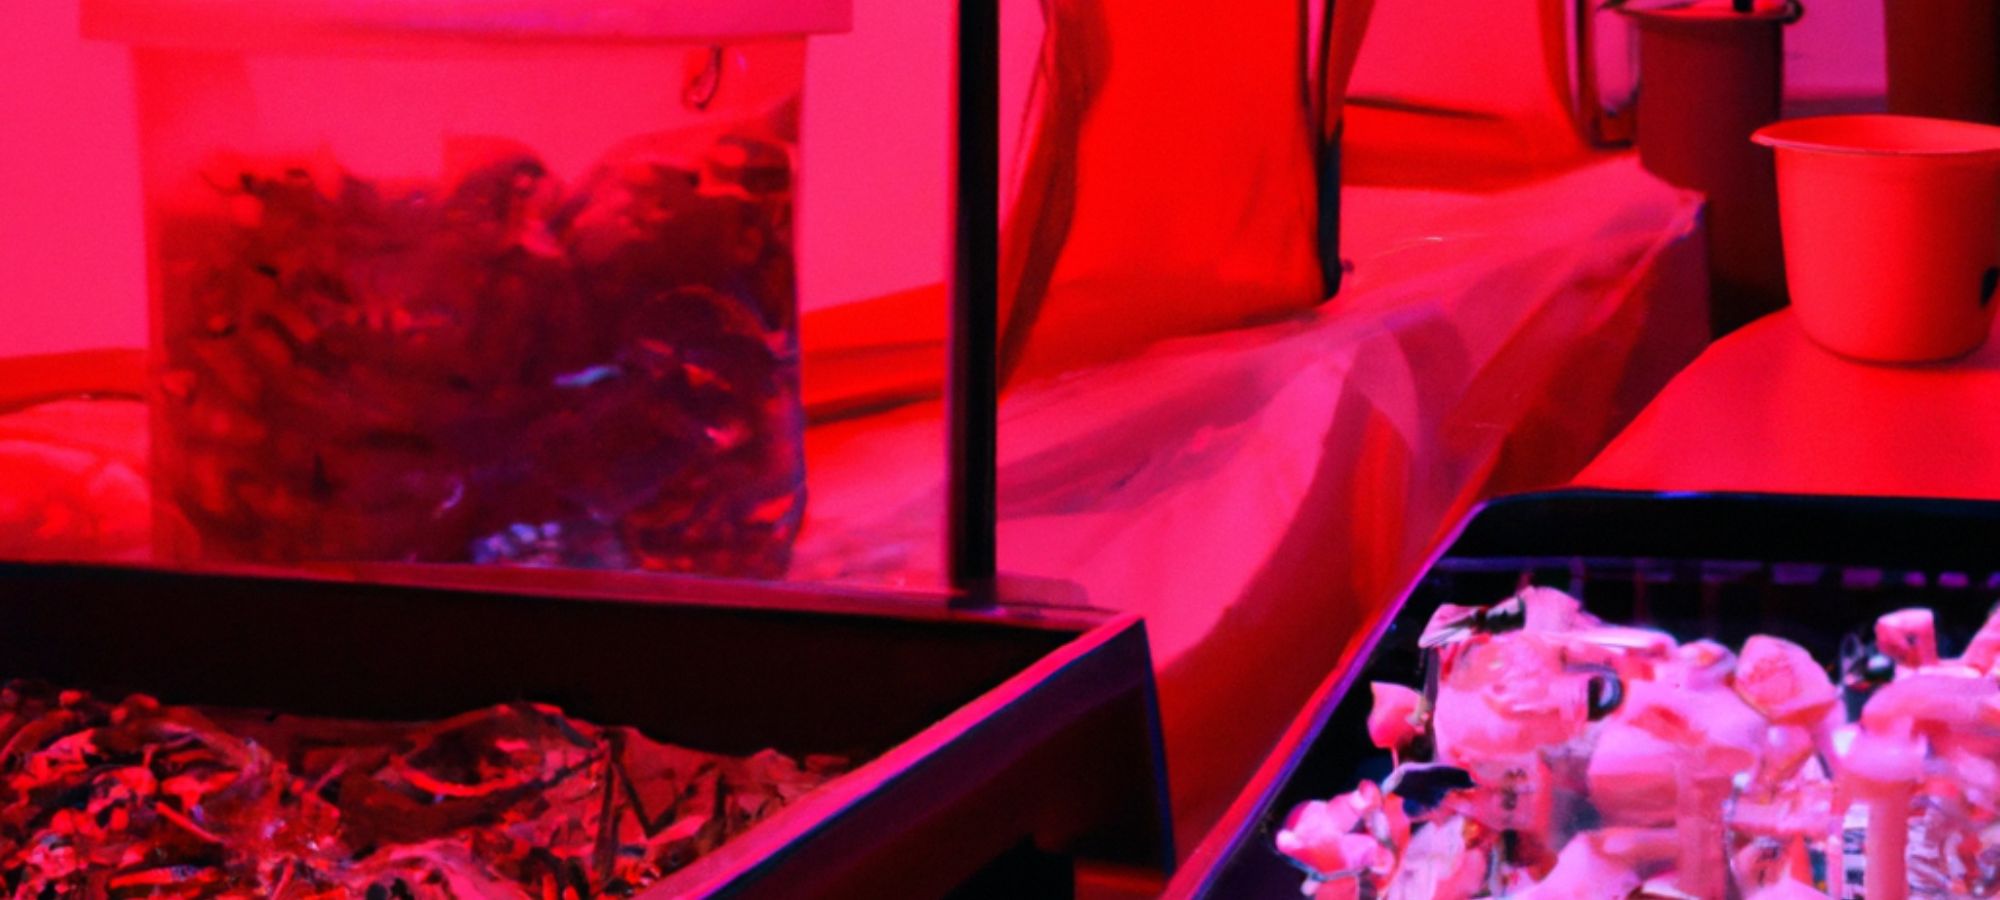
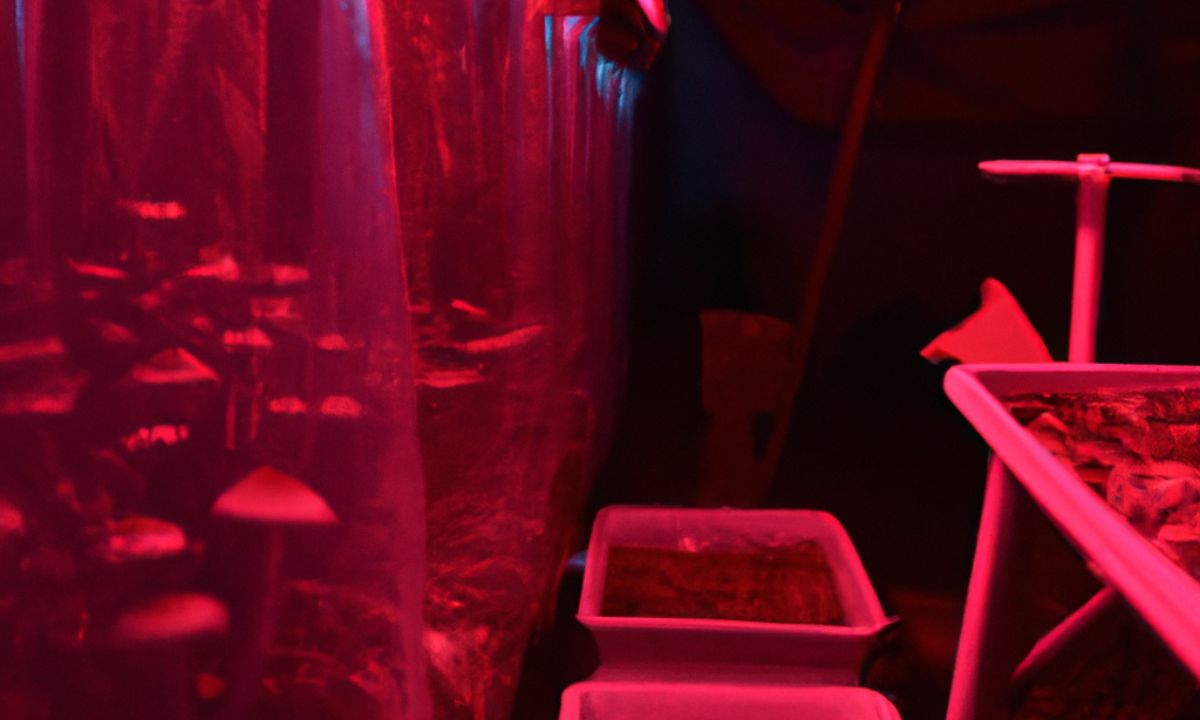
A mushroom grow tent is a portable, collapsible fruiting chamber that allows you to control these factors and grow larger quantities of mushrooms indoors.
It is essentially a frame covered in plastic, canvas, or reflective sheeting that has openings for ventilation, lighting, and access. You can use a mushroom grow tent to grow mushrooms from ready-made spawn bags or jars or from your own inoculated substrate.
There are different types and sizes of mushroom grow tents available on the market, ranging from small countertop models to large walk-in units.
In this article, we will guide you through the steps of setting up a mushroom grow tent using a hydroponic grow tent as an example. We will also explain some common terms and techniques related to mushrooms growing, such as Martha tek and DIY Martha tent.
Contents
What is Martha tek?
Martha tek is a popular method of growing mushrooms in a humidified greenhouse or grow tent.
The name comes from Martha Stewart’s line of greenhouses that some mushroom growers used as fruiting chambers.
The basic idea is to create a humid environment inside the grow tent by using a humidifier, a fan, and a timer.
The humidifier provides moisture, the fan circulates fresh air, and the timer controls the frequency and duration of misting and ventilation.
Martha tek is suitable for growing mushrooms that need high humidity levels, such as oyster mushrooms, shiitake mushrooms, and lion’s mane mushrooms. It can also be used for growing psilocybin mushrooms (magic mushrooms), which are illegal in many countries.
However, Martha tek is not recommended for growing mushrooms that prefer low humidity levels, such as button mushrooms or portobello mushrooms.
My Personal Experience With Martha Tek

I have been growing mushrooms at home for over a year now using Martha tek. I started with a small 4-tier mini-greenhouse that I bought online for less than $50.
I modified it by cutting holes in the plastic cover for ventilation ducts and installing a humidifier inside. I also added a fan on top of the greenhouse to blow fresh air into it.
I connected both the humidifier and the fan to a timer that I set to mist for 15 minutes every hour and ventilate for 10 minutes every two hours.
I used ready-made spawn bags of oyster mushrooms that I ordered online as well. I placed them on the shelves inside the greenhouse after cutting slits in them for air exchange.
Within a few weeks, I saw small primordia forming on the surface of the bags. I increased the light exposure by placing a LED lamp near the greenhouse and turning it on for 12 hours a day. Soon enough, I had beautiful clusters of oyster mushrooms growing out of the bags.
How to Set Up a Mushroom Grow Tent Using a Hydroponic Grow Tent

A hydroponic grow tent is designed for growing plants indoors using water and nutrients instead of soil.
To set up a mushroom grow tent using a hydroponic grow tent, you will need the following equipment:
- A hydroponic grow tent of your desired size
- Shelving units that fit inside the tent
- A humidifier with a large water tank
- A humidity controller with a sensor probe
- A fan with a duct and a carbon filter
- A timer for the fan and the humidifier
- A LED lamp with a power cord
- A thermometer and a hygrometer to monitor the temperature and humidity inside the tent
- Mushroom spawn bags or jars, or your own inoculated substrate
Follow the steps below to set up your mushroom grow tent:
Step 1: Assemble your hydroponic tent
Follow the instructions that come with your hydroponic tent to assemble it in your chosen location. Make sure you have enough space around the tent for ventilation and access.
You may also want to place some insulation or soundproofing material under or around the tent to reduce noise and heat loss.
Step 2: Install shelving
Place your shelving units inside the tent and arrange them according to your design.
Make sure you leave enough space between the shelves for air circulation and mushroom growth.
You can use metal or plastic shelves, but avoid wood as it can harbor mold and bacteria.
Step 3: Install lighting
Hang your LED lamp from the top of the tent using hooks or straps.
Connect it to a power source outside the tent. You can use an extension cord if needed, but make sure it is safe and secure.
Adjust the height of the lamp according to the distance between the shelves and the mushrooms.
You can also use a timer to control the light cycle for your mushrooms. Most mushrooms need about 12 hours of light per day to fruit well.
Step 4: Install a humidifier
One of the most common questions I get is “Where do you put the humidifier in a Martha tent?“.
Place your humidifier on the floor of the tent near one of the openings.
Fill it with water and plug it into a power source outside the tent. You can also use an extension cord if needed, but make sure it is safe and secure.
Connect your humidity controller to your humidifier using a power strip or an outlet splitter. Place the sensor probe of your humidity controller inside the tent near one of the shelves.
Set your desired humidity level on your controller, usually between 80% and 95% for most mushrooms.
Step 5: Install your exhaust fan
Cut a hole in the back of the tent that is big enough to fit your fan, but small enough to create a tight seal.
Trace the inside of your fan on the plastic of the tent with a sharpie, and then cut it out with some scissors.
Attach your fan to the hole using duct tape or screws. Connect your fan to a power source outside
Step 6: Automate your system
One of the great things about a mushroom grow tent is that you can automate most tasks.
I recommend installing a thermostat and CO2 and humidity controllers that automatically turn the fan and humidifier on and off.
It’s also a good idea to attach a timer to your LED lights to switch them on and off for the desired time each day.
To automate your system, you will need the following equipment:
- A thermostat with a sensor probe
- A CO2 controller with a sensor probe
- A power strip or an outlet splitter
- A timer for your LED lights
How Do You Cool A Mushroom Fruiting Tent?
One effective method to cool a mushroom fruiting tent is by implementing a well-designed ventilation system.
This allows for proper air circulation and helps regulate the temperature inside the tent.
By strategically placing intake and exhaust fans, you can create a continuous flow of fresh air that helps dissipate heat and maintain an optimal growing environment for your mushrooms.
Another cooling technique that can be employed is evaporative cooling.
This involves using water or ice to lower the temperature inside the tent.
By placing wet towels or using misters in combination with fans, you can create a cooling effect through evaporation.
This method is particularly useful in hot climates or during periods of high temperatures.
Are grow tents worth it?
Yes. The ability to create a controlled environment, ensure privacy and security for your plants, as well as their versatility make them valuable tools in maximizing plant growth and yield indoors.

