How to Grow Oyster Mushrooms At Home 2023
In this article, we will provide a step-by-step guide on how to plant oyster mushrooms at home, so you can enjoy fresh, home-grown mushrooms in no time!
Oyster Mushroom cultivation has become increasingly popular among home gardeners, and for good reason!
Not only is growing mushrooms a fun and rewarding hobby, but it can also yield a delicious and nutritious harvest.
Oyster mushrooms are a particularly great option for home cultivation, as they are relatively easy to grow and produce a bountiful crop.
What are Oyster Mushrooms?
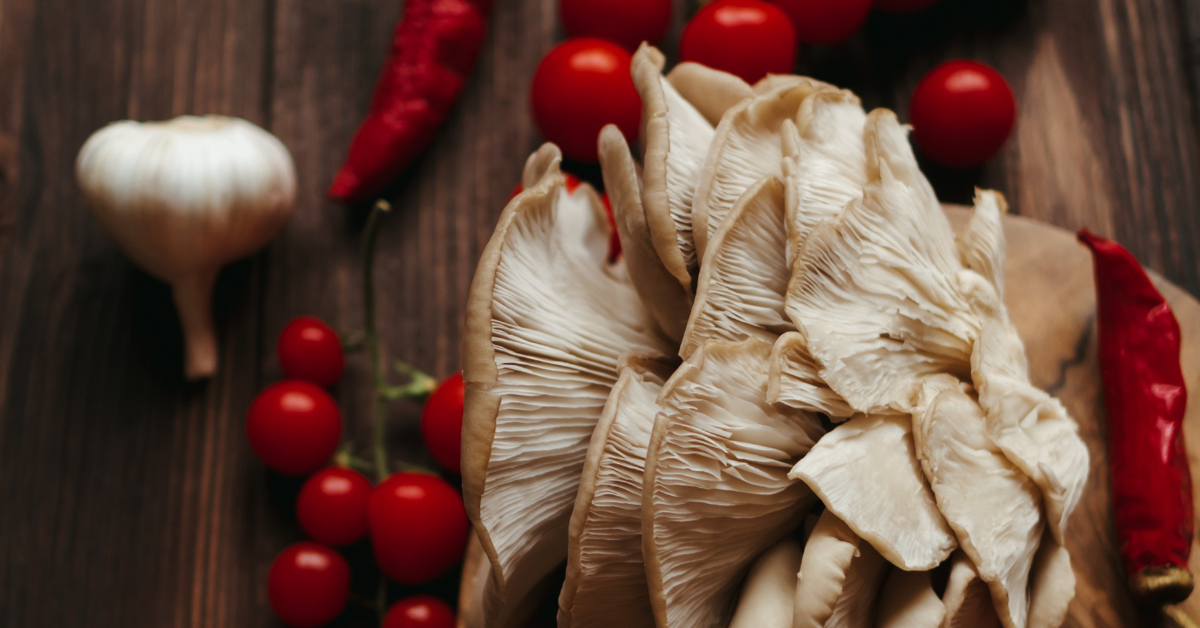
Oyster mushrooms, also known as Pleurotus ostreatus, are a type of edible mushroom that grow naturally in temperate and subtropical forests around the world.
They are prized for their delicate, velvety texture and mild, slightly nutty flavor. Oyster mushrooms come in a variety of colors, ranging from white to gray, yellow, pink, and even blue.
Why Grow Oyster Mushrooms at Home?
Growing oyster mushrooms at home is a great way to enjoy fresh, flavorful mushrooms all year round. In addition, growing your own mushrooms can reduce your carbon footprint by eliminating the need for long-distance transportation.
What You Will Need to Grow Oyster Mushrooms at Home
To grow oyster mushrooms at home, you will need the following supplies:
- Oyster mushroom spawn or culture: : this can be purchased online or from a local mushroom supplier.
- Substrate (usually a mixture of straw and sawdust)
- Containers (you will need a container to hold the substrate and spawn. This can be a plastic bag, a container with a lid, or any other suitable container)
- Water
- Spray bottle
- Gloves
Step-by-Step Guide
- Sterilize your substrate by boiling it in water for 1-2 hours. This will kill any bacteria or fungi that could compete with your oyster mushroom spawn.
- Let the substrate cool to room temperature, then add your oyster mushroom spawn or culture. You can purchase oyster mushroom spawn online or at a local gardening store.
- Mix the spawn and substrate thoroughly, making sure that the spawn is evenly distributed.
- Fill your containers with the substrate-spawn mixture, leaving some room for the mushrooms to grow.
- Poke holes in the containers to allow air flow.
- Mist the containers with a spray bottle to keep the substrate moist. Oyster mushrooms prefer a humid environment.
- Place the containers in a warm, dark place, such as a closet or basement. Oyster mushrooms like temperatures between 60-75°F.
- Wait for the mushrooms to start growing! This can take anywhere from 1-3 weeks, depending on the temperature and humidity levels.
- Harvest your mushrooms by gently twisting them off the substrate. Oyster mushrooms can be harvested when they are small, or left to grow larger for a meatier texture.
Tips for Success
- Keep your hands and tools clean to avoid contaminating your mushrooms with unwanted bacteria or fungi.
- Use a high-quality oyster mushroom spawn or culture to ensure a healthy and productive crop.
- Keep the substrate moist but not waterlogged. Too much water can cause mold and other unwanted growths.
- Monitor the temperature and humidity levels regularly. Oyster mushrooms thrive in a consistent environment.
- Experiment with different substrate mixtures and growing conditions to find what works best for you.
Conclusion
Growing your own oyster mushrooms at home is a fun, sustainable, and rewarding activity. By following our step-by-step guide and using high-quality supplies, you can produce your own delicious and healthy mushrooms in no time. So why not give it a try and see what you can grow?